


A well-maintained lawn is the centerpiece of many garden owners' green paradise. But anyone who has ever regularly mowed the lawn knows how much time and effort it takes. A robotic lawnmower largely takes this work off your hands – provided it knows exactly where it's allowed to mow. This is ensured by the boundary wire. In this guide, you'll learn how to lay a robotic lawnmower boundary wire, what tools you'll need, which common mistakes to avoid, and what to look out for with modern models like the Segway Navimow i105.
Contents
- Why a robotic lawnmower boundary wire is necessary
- Preparation: What you should consider before laying the boundary wire
- Step-by-step instructions: Laying the boundary wire for a robotic lawnmower
- Practical tips for optimal results
- Common mistakes when laying robotic lawnmower boundary wire
- Care and maintenance of the boundary wire
- Modern alternative: Robotic lawnmowers without boundary wires
- Conclusion: Care pays off.
Why a robotic lawnmower boundary wire is necessary
The boundary wire acts as a "virtual fence" for your robotic lawnmower. It emits a weak electrical signal that the robot detects. This allows the device to know exactly where its mowing area ends and reliably stay within that area.
A correctly laid cable not only ensures precise cutting edges, but also protects sensitive areas of your garden such as flower beds, paths, ponds or play areas.
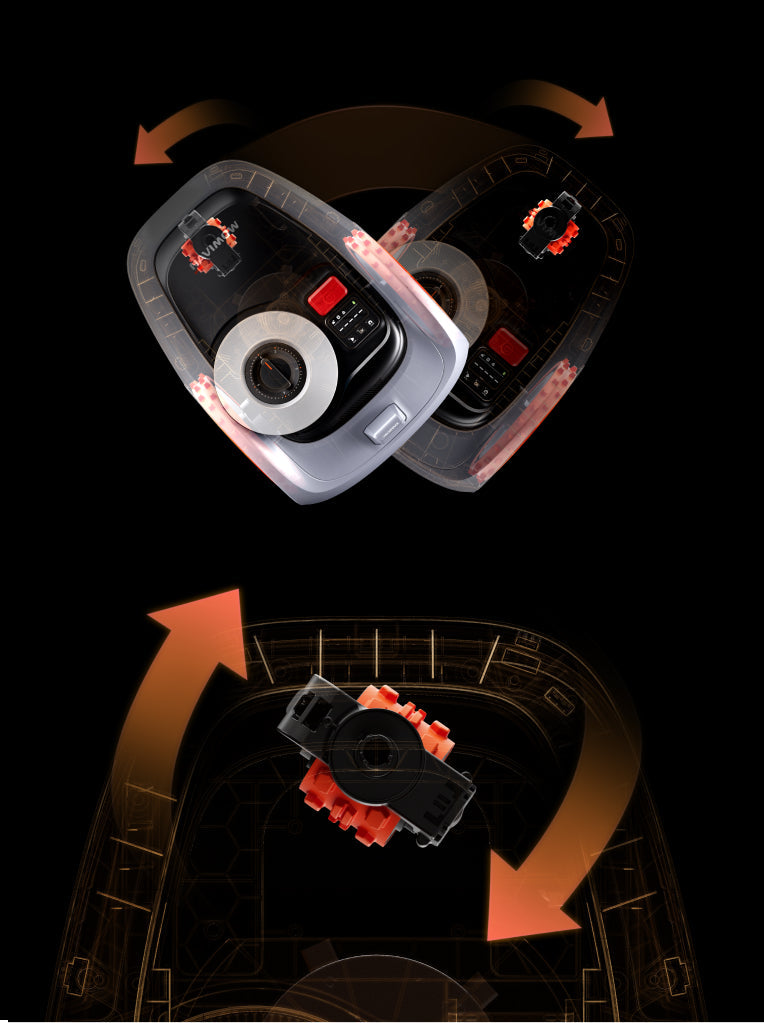
Some newer models – such as those in the Segway Navimow series – can even navigate wirelessly using GPS and VisionFence technology. Nevertheless, the classic boundary wire system remains the most practical and stable solution for many gardens, especially if you already own a device with wired technology.

Preparation: What you should consider before laying the boundary wire
Before you begin laying the fencing, you should carefully measure your garden and plan the mowing area. Good preparation will save you a lot of work later.
Materials needed
- Boundary wire (depending on the size of the garden, usually 100–300 m)
- Ground anchors or hooks for fixing
- Cable connectors
- rubber mallet and measuring tape
- Sketch or plan of the garden
- Possibly a cable laying machine or spade

| Tip: | High-quality, weather-resistant cables last longer and prevent signal loss. Investing in quality materials is particularly worthwhile for larger gardens. |
|---|
Step-by-step instructions: Laying the boundary wire for a robotic lawnmower
Step 1. Define the mowing area
Mark out the area to be mowed. Ensure the robot has sufficient distance from fences, walls, and flowerbeds. Distance to fixed obstacles: approx. 30–35 cm. Distance to flowerbeds or lawn edges: 10–15 cm. If you wish to exclude a pond, tree trunk, or play area, you can run the boundary wire around this area – this creates so-called "islands" that the robot will avoid.

Step 2. Plan the cable route
It's best to sketch out the lawnmower's path on paper or with markers directly in the garden. This will provide a valuable reference if you later decide to change your robotic lawnmower or redesign your garden. For larger gardens, it can be helpful to also lay a guide wire to reliably lead the robot back to its charging station.

Step 3. Laying cables – above ground or underground
You have two options:
- Above ground: The cable is laid directly on the lawn and secured with pegs. This method is quick and easy – the cable will grow into the grass after a few weeks.
- Underground: The cable is buried approximately 3–5 cm deep. This option is more durable and visually cleaner, ideal for permanently landscaped gardens.
If you frequently redesign your garden, the above-ground option is worthwhile, as changes are easier to implement.

Step 5: Plan for obstacles and islands
If you want to exclude areas (e.g., ponds, flower beds, or vegetable patches), run the cable around them and back again – this creates a closed loop. Important: The outbound and return cables must run close together so that the signals cancel each other out and the robot recognizes the area as "not to be mowed".
Step 6: Connecting to the base station
Route both cable ends (start and end) to the base station. Strip approximately 1 cm of insulation from the cable ends. Insert them into the designated terminals (usually marked "L" and "R"). Secure the connection to ensure it remains weatherproof. Power on the station – a green LED indicates that the signal is being received correctly. If it flashes or glows red, check the cable connections for breaks.

Step 7. Perform a test run
Start the robotic lawnmower and carefully observe the first pass. If the robot stops unexpectedly or goes outside the designated area, check the cable connections or any gaps in the path. A short test run will save you a lot of minor adjustments later.

| Tip: | Since the text and images may not provide a sufficiently clear explanation, you can search on YouTube for relevant videos on laying boundary lines for robotic lawnmowers to gain a more detailed understanding. |
|---|
Practical tips for optimal results
Lay the boundary wire in dry weather – damp soil makes the job more difficult. Use colored wire markers to easily find the path later. Keep the base station in a shady, dry location – ideally with a strong Wi-Fi signal. If you're scarifying or digging up your lawn, mark the wire path beforehand to avoid damage.
Common mistakes when laying robotic lawnmower boundary wire
Even experienced gardeners make typical mistakes on their first attempt. Here are some examples of how to avoid them:
- The cable is too close to walls or trees – the robot gets stuck.
- Curves that are too tight – the robot cannot reliably detect the boundary.
- Incorrectly connected cable ends – no or faulty signal.
- Cables that are too tightly stretched – they tear when the temperature changes.
After laying the cables, check that the signal is stable. Many robotic lawnmowers, including the Segway Navimow i105, indicate in the app or on the display whether the connection is working correctly.
Care and maintenance of the boundary wire
To ensure your robotic lawnmower works reliably in the long term, you should check the cable regularly:
- Visual inspection in spring: Are any cable sections damaged or corroded?
- After periods of rain: Are connections still watertight?
- After gardening work: Was the cable accidentally cut?
In case of damage, waterproof cable connectors help to quickly restore the line.
Modern alternative: Robotic lawnmowers without boundary wires
While the classic method using boundary wires is still widespread, wireless models are becoming increasingly popular. One example is the Segway Navimow models, such as the i105 or i108, which operate entirely without boundary wires. They use RTK-GPS and AI-based navigation to precisely define the lawn area – even in complex garden shapes.
These models save you installation time while still offering a very precise mowing result. A particularly practical feature: if you move or redesign your garden, the tedious task of rerouting cables is completely eliminated. However, such devices are more expensive to purchase and require a stable GPS connection. If your garden has many trees or shady areas, the classic boundary wire system remains the most reliable solution.
When switching to a GPS model is worthwhile
If you regularly rearrange your garden or have a particularly large, open area, a model like the Segway Navimow i108 might be worthwhile. This model combines GPS tracking with intelligent obstacle detection and operates very quietly. For smaller to medium-sized gardens, on the other hand, the Navimow i105 is ideal. It offers precise navigation, app control, and intelligent scheduling – perfect if you want more convenience but don't want to completely forgo cables.
Conclusion: Care pays off.
A robotic lawnmower is a huge help in everyday gardening – provided it knows its limits.
Laying the boundary wire for your robotic lawnmower requires an investment of time and patience, but you will be rewarded with a perfectly manicured lawn.
With the right materials, careful planning and a final test run, your robotic lawnmower will run reliably and efficiently.
And if you're looking for more freedom in the future, it's worth taking a look at modern models like the Segway Navimow. They combine state-of-the-art navigation with user-friendliness – and take lawn care to the next level.

Jaga: