
A broken boundary wire is one of the most common problems with robotic lawnmowers. Suddenly, the device stops in the middle of the lawn, or the message "Cable missing!" appears. Previously, you had to painstakingly search for the fault using a radio or measuring device – today, it's easy with your smartphone and a suitable app. In our blog, we show you step by step how to find a broken boundary wire on your robotic lawnmower using your smartphone and present long-term, wireless alternatives.
Contents
- Why cable breaks are so common in robotic lawnmowers
- Typical symptoms of a broken cable
- Tools and equipment you will need
- How to find a broken cable on a robotic lawnmower
- Repairing a broken cable on a robotic lawnmower
- Prevention: How to avoid future cable breaks in your robotic lawnmower
- Bonus: Wireless robotic lawnmowers as a future-proof alternative
- Conclusion
- FAQs
Why cable breaks are so common in robotic lawnmowers
A broken boundary wire is one of the most common reasons why an automatic lawnmower stops working. The loop wire is usually only a few centimeters deep in the ground – and therefore susceptible to damage.
- Gardening work such as digging or spadefuls
- Roots, rodents or weather conditions
- Aging, corrosion, or poor plug connections
Especially with brands like Husqvarna, Gardena, or Worx, it's not uncommon for the cable to become damaged after years of intensive use. However, a broken robotic lawnmower cable can be quickly located and repaired with the right method.

Typical symptoms of a broken cable
Before you begin troubleshooting, you should check if the following signs are present:
- The LED on the charging station flashes red or orange.
- The robotic lawnmower displays: "No loop signal" or "No loop current".
- The robot either doesn't start or remains stationary on the surface.
- The signal disappears in certain areas of the lawn.
If these symptoms occur, it is worthwhile to specifically search for the cable break on the robotic lawnmower, instead of digging indiscriminately.
Tools and equipment you will need
Before you start troubleshooting the broken cable on your robotic lawnmower, gather the necessary tools. This will save time and prevent further damage.
- Multimeter (for electrical measurement)
A multimeter is the most important tool if you want to find a broken cable in your robotic lawnmower. With it, you can measure the resistance in the loop cable and determine if the circuit is interrupted.
- Boundary wire plan
If you have the original installation plan for your loop cable, have it handy. It will help you search specifically in the right areas.
- Insulated terminal blocks or repair kit
Once you have located the break, you will need waterproof connectors to safely reconnect the cable.
- spade or lawn cutter
Using a narrow tool, you can carefully expose the cable without damaging the lawn extensively.
- (Optional) Cable break locator
A professional cable locator sends a signal through the cable, allowing you to precisely pinpoint breaks. These devices are particularly helpful for large areas – whether you're trying to find a broken cable on a Worx, Gardena, or Husqvarna robotic lawnmower.
Tip:
- There are also alternative methods using a mobile phone or radio to detect signal loss. These sometimes work, but are significantly less accurate than a measurement with a multimeter or locator device.
How to find a broken cable on a robotic lawnmower
Visual inspection and preparation
Before taking any measurements, check all plug connections at the charging station and at any visible cable points. Corrosion, moisture, or loose terminals are often the cause. Then, switch off the power to the station to ensure safe operation.
Measuring resistance – the classic method with a multimeter
If you want to find the cable break in your robotic lawnmower using a multimeter, proceed as follows:
- Disconnect the boundary wire from the charging station at both ends.
- Set the multimeter to Ohm (Ω).
- Measure the resistance between the two cable ends.
- If the device shows infinite resistance, the cable is broken.
- A value below 10 Ω indicates an intact cable.
Mentally divide the cable into several sections and test them one after the other. This will allow you to systematically narrow down the area of the break.
Example:
- If you can still measure passage halfway through the garden, but not in the next section, the break lies between these two points.
Signal tracking with a locator device
A cable locator is the professional way to find a broken cable on a robotic lawnmower. It sends an electromagnetic signal through the cable, which is then picked up by a receiver placed above ground. As soon as the signal cuts out, you are close to the break. This method is ideal for large or complex gardens and installations without a detailed cable plan.

Comparison of different methods for locating cable breaks
| method | accuracy | Cost | Expense | Recommended for |
|---|---|---|---|---|
| Visual inspection | Low | €0 | High | Small areas |
| Multimeter measurement | Medium to high | Small amount | Medium | DIY home improvement |
| Cable break locator | Very high | Medium to high | Small amount | Large gardens, professionals |
| Mobile phone / Radio | Low | Small amount | Small amount | Fast, inaccurate tests |
Although a cable break in a robotic lawnmower can generally be detected using a mobile phone or radio, measurement with a multimeter or locator device is the most reliable solution in the long term.
Repairing a broken cable on a robotic lawnmower
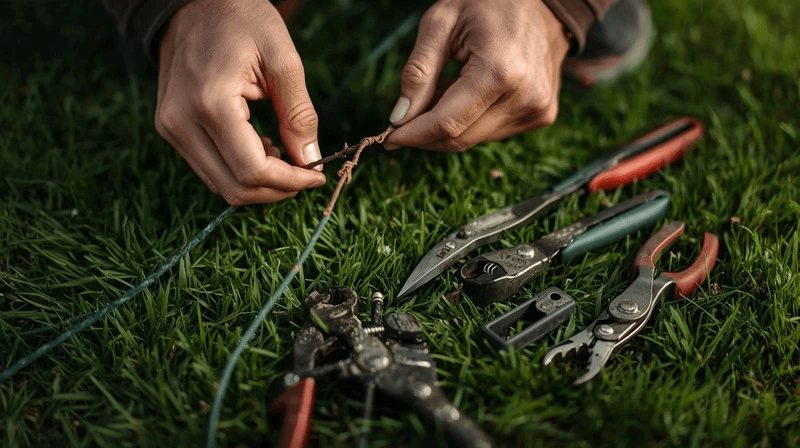
Once you've located the damaged section, you can easily repair it yourself in just a few steps. Repairing a broken cable on a robotic lawnmower is usually straightforward, but requires some care to prevent future interruptions.
- Expose the cable: Mark the point of the break and carefully expose a length of approximately 10–15 cm of the cable. Remove roots, soil, or moisture from around the damaged area.
- Remove the damaged section: Cut out the affected section with clean cable pliers. Ensure that both ends of the remaining cable are undamaged and clean.
- Remove insulation: Remove approximately 1 cm of insulation from both ends to ensure a good electrical connection.
- To make the connection: Use a waterproof connector or an original manufacturer's repair kit – for example, from Gardena, Worx, or Husqvarna. Firmly insert the stripped ends into the connector until they click into place. This ensures a weatherproof and durable connection.
- Test the cable: Before burying the cable again, connect it to the charging station and check if the loop signal is recognized again. The robotic lawnmower should now start normally.
- Re-laying: If everything works, place the repaired section back into the ground, ideally 3–5 cm deep. Gently press down the turf to avoid gaps.
Tip:
- Use original connectors from your device's brand (e.g., Gardena, Worx, Husqvarna) whenever possible, as these are more durable and weather-resistant.
Prevention: How to avoid future cable breaks in your robotic lawnmower
Ideally, a repaired cable break should not recur. With a few simple but effective measures, you can permanently prevent future damage to the boundary wire.
- Lay the cable deep enough: The loop cable should be buried at least 3 to 5 cm deep in the ground. This prevents it from being accidentally damaged during gardening work, such as scarifying or transplanting.
- Use protective conduits in vulnerable areas: In areas with frequent foot traffic or root pressure, it is recommended to lay the cable in a narrow plastic conduit or corrugated hose. This provides additional protection against pressure and moisture.
- Document the cable route: Record the exact route of the boundary wire in a plan or app. This way, in case of a problem, you can quickly locate the robotic lawnmower after a cable break without digging blindly.
- Regularly check electrical connections: Inspect the connections on the charging station and all terminals for corrosion and moisture. Replace any porous or oxidized parts promptly.
- Take care when gardening: When working with spades, ground anchors, or lawn edging tools, always pay attention to the cable's position. A moment's inattention can quickly lead to another break.
- Use quality cables: Cheap cables often break more quickly. When laying a new boundary wire, invest in UV- and moisture-resistant material – this will minimize the risk of another robotic lawnmower cable breakage in the long term.
These simple measures will prevent you from having to search for a broken lawnmower cable again.
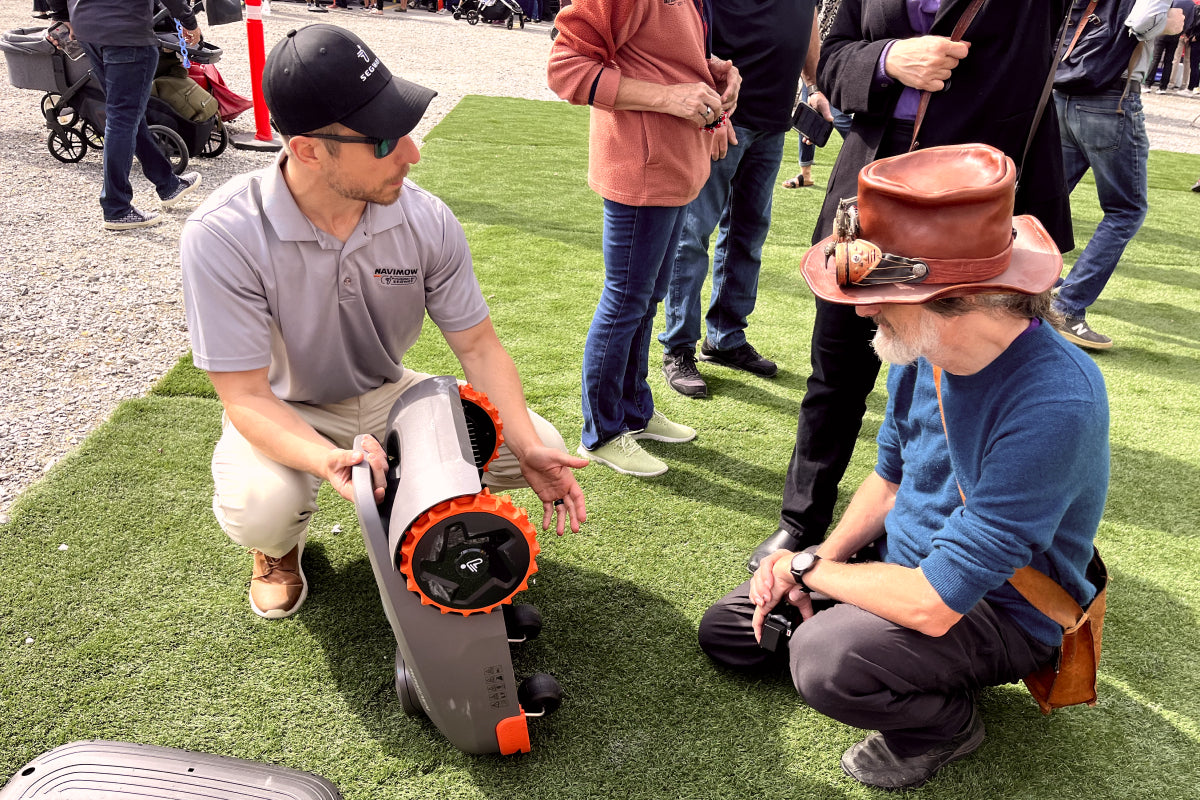
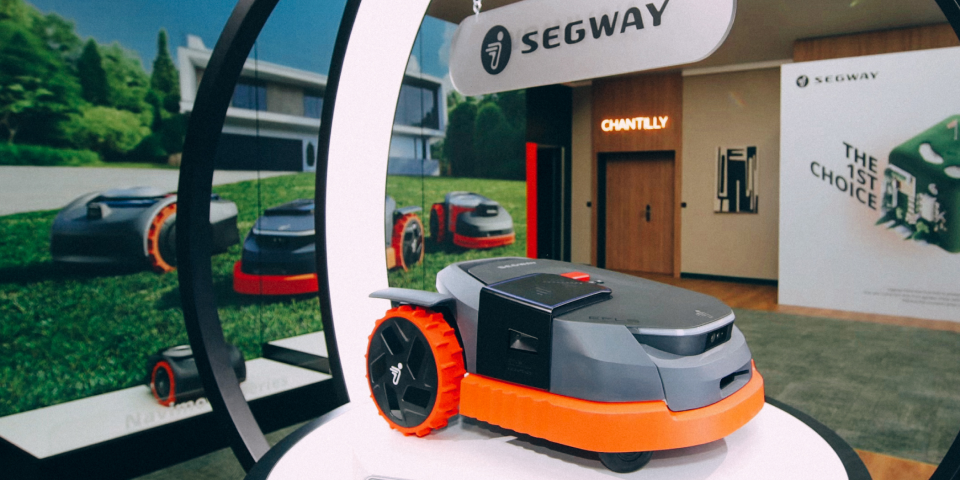
Bonus: Wireless robotic lawnmowers as a future-proof alternative
If you regularly have to repair broken cables, a wireless robotic lawnmower could be a worthwhile investment. These modern devices use GPS or RTK technology to define virtual boundaries – completely without a boundary wire.
Advantages of wireless systems:
- No installation work with boundary wire
- No risk of cable breakage or signal interference
- Flexible adjustment of the mowing area via app
- Ideal for changing or irregular gardens
Popular models
- Husqvarna Automower NERA with EPOS technology
- Segway Navimow i105
- EcoFlow Blade
Anyone who wants to avoid the regular hassle of dealing with cables should seriously consider switching to such a system.

Anyone who wants to avoid the regular hassle of dealing with cables should seriously consider switching to such a system.
Conclusion
A broken cable on your robotic lawnmower is annoying, but in most cases, it's not a reason for expensive repairs. With some technical know-how, a multimeter, and a little patience, you can find and fix the broken cable yourself. Whether you need to locate a broken cable on a Husqvarna, Gardena, or Worx robotic lawnmower, the principle remains the same: systematically measure, locate, repair, and prevent future problems. However, if you frequently experience problems with boundary wires, switching to a wireless robotic lawnmower like Navimow can be worthwhile in the long run – for greater convenience, precision, and less maintenance.
FAQs
How can you recognize a broken cable on a robotic lawnmower?
A broken cable is usually indicated by the message "No loop signal" or a flashing LED on the charging station. If the robotic lawnmower doesn't start, you should check the resistance with a multimeter – if it shows no continuity, the cable is broken.
How do I find the broken cable on my robotic lawnmower?
Disconnect the boundary wire from the station and measure the resistance in sections using a multimeter. This will help you pinpoint the area with the break. Alternatively, you can use a cable break locator to quickly locate the exact break point.
How can I find a broken cable on my robotic lawnmower using my mobile phone?
Some models or apps allow you to track the signal via smartphone. This lets you hear or see where the loop signal breaks off. This method can help narrow down the area, but it is less accurate than searching with a multimeter or professional locator.

Delen: